Smooth walls are the key to the accuracy and aesthetics of the entire room. In addition, it is easier to apply a topcoat on such a surface. Everyone knows about this, so the question of how to align the walls is relevant at any time. Before starting work, you need to know some useful information.
Techniques
There are enough ways, and the choice will depend on the error, as well as the capabilities of the person himself. There are three main areas: plaster, putty and drywall sheets. Before choosing, you should pay attention to the room itself, but some techniques are unique. The use of drywall is suitable if the error is large. Yes, and the finish coating is easier to do on this basis.
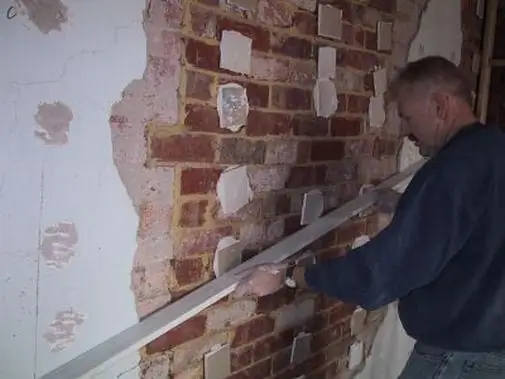
Plaster is suitable for all surfaces and rooms. But the putty is already the final application. With its help, small bumps and cracks are removed. It makes sense if wallpaper or paint is applied after. How to align the walls in the house with these methods? It is worth knowing simple recommendations, andget the desired result.
So, each method has its supporters and those who find only minuses in it. You will have to decide on which surface the finish is done on, as well as what will become the finish coat. Although today the most relevant is the financial side comes out.
Using plaster
How to align the walls in the apartment with your own hands? The first way is the easiest and most accessible to everyone - plastering. Before you start, you need to prepare the necessary things:
- Level, rule, beacons. It is always available for sale, and someone at home.
- Plaster mix and spatula (better two different lengths).
- The bucket in which the composition will be kneaded. You will also need a stirrer. This is best done with a drill with nozzles. Although today there are construction mixers.
- Primer mixture. It is most convenient to apply it with a roller, which means you need a tray. But it will not crawl into all places, so the brush should be in stock.
Having collected everything you need, you can start. Before leveling the walls, you need to remove dust and dirt from them. Often there are elements that do not inspire confidence, they stagger, and it is better to get rid of them. Then it's time for the primer. The composition of deep penetration is taken. It will make the surface more durable and ready for plastering. What else does this primer do:
- Brings moisture and removes dust residue.
- The wall is less absorbent.
- Surface has slight roughness. This feature increases the reliabilityclutch material.
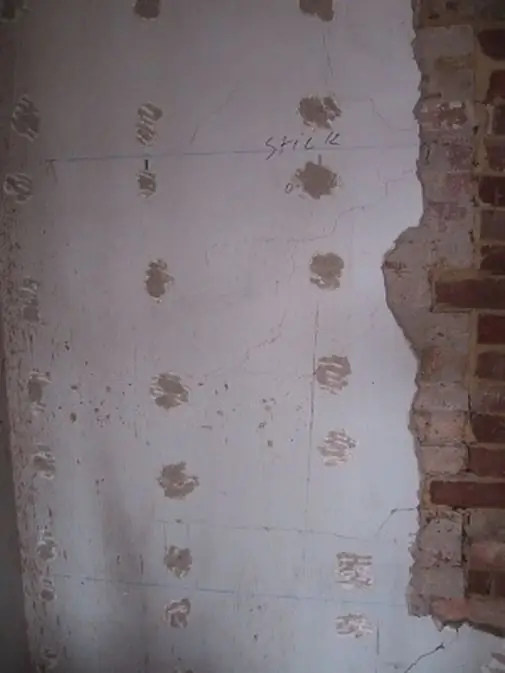
Application is done with a roller, although some use special sprayers (so the work goes faster). In places of recesses and cracks, the surface must be wetted strongly.
Set beacons
As soon as the primer dries, guide beacons are attached. Their main task is to create a perfectly flat surface. They can be not only aluminum, but also from any other material. Not so long ago they were wooden, so the decision is up to the owner. If a person does not have experience in such work, then it is better to choose a reliable, aluminum solution.
It is better to give preference to ready-made T-shaped beacons. They are easily attached and then create a reliable structure that does not bend under a layer of plaster. If it is made of aluminum, then at the end of the work you can not dismantle it - the appearance of corrosion is excluded. It is good when self-tapping screws or special adjusting lugs are preferred as fasteners. A level is involved in the process (the most convenient is a laser). How to align the corners of the walls? The distance between the main guides should be more than one meter, and in the area of \u200b\u200bthe corners - no more than 30 centimeters.
The application of the main composition occurs no more than 30 millimeters. This is taken into account in the process of installing beacons. Exceeding this parameter will cause the entire mass to fall off.
Getting Started
Before leveling the walls, all preparatory processes are performed in the apartment or house. If a primer was not used, then the surface is simplyprocessed with water. Then the prepared mixture is applied to the working area. Without waiting for time, the process of leveling in the direction from bottom to top begins, applying the rule. If there is not enough composition, then it is reported and again, slightly pressing, do the same actions. A spatula is needed to complete small areas and stretch again, trying to make the surface perfectly even.
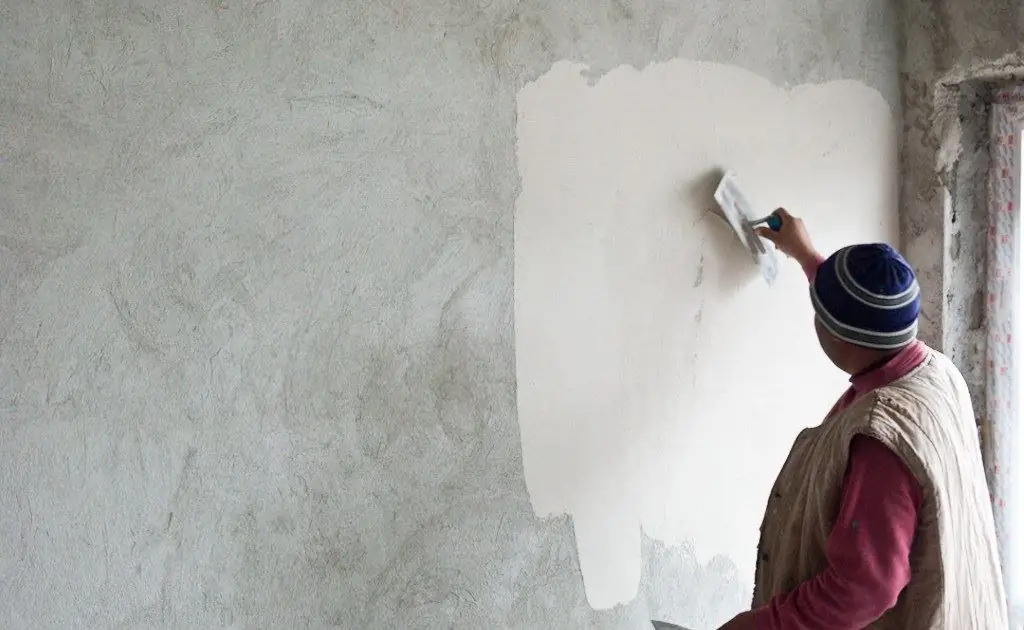
When you work with the rule, you can bring it not only up, but also to the sides (however, without leaving the lighthouses, doing everything clearly according to the level). Not everyone can do this without experience. The main thing is not to rush and follow the recommendations. Once the entire wall is filled, it will take about 15 days for it to dry completely. After it is already easy to do the finish coat.
Application of drywall
This method is the most common today, because it is cleaner and can remove strong errors in the processing area. When the surface is covered with drywall sheets, then further finishing can begin immediately. Although today there are wall-leveling wallpapers, they cannot remove deep irregularities. Before starting, a frame is created from a guide profile - PN and rack-mount PS. It is made of steel or galvanized. Such products are always on sale.
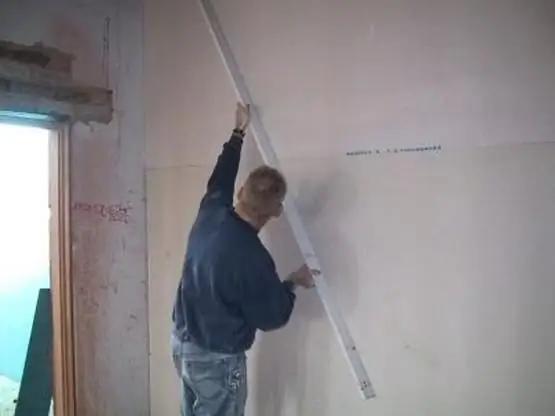
In addition, you will have to purchase U-shaped suspensions at the hardware store. With the help of them with fasteners, the design will become more reliable. A step of 50 centimeters is observed. They are installed immediately or afterfixing the guides (this is decided by the master himself). Prepare before starting work:
- Punch.
- Gypsum board cutting tool.
- Metal shears to measure and cut the profile.
- Hammer.
- Level and roulette.
- Fixing component - self-tapping screws, dowel-nails.
Pay attention
It is important to create a clear frame and markup. The evenness of the wall will depend on this. To ensure that the edges of each sheet are exactly in the middle, a distance of 60 centimeters is allowed between the racks, since the sheet itself has a length of 120 centimeters. He hits three racks. The height will be equal to this figure in the room.
Markup rules and profile setting
To understand how uneven the wall is, you can put a plumb line in the upper corner. This will help you understand where the slope is going. After a measurement is made and the lines are connected. Measurements are taken on the floor and ceiling, after which they are connected to make everything exactly vertical. A contour is formed for the profile. This will be the future basis of the framework.
How to align the walls with drywall next? Then you need to outline a place for the rack profile. Risks are made along a vertical line at several points and connected. This distance must not be violated (its value is 60 centimeters).
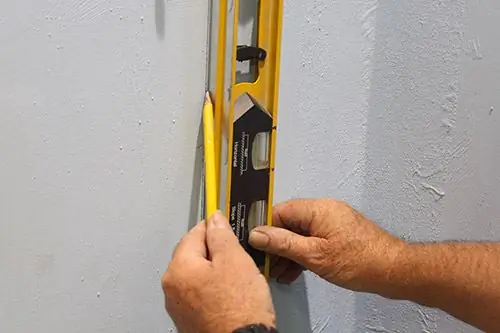
How to align the walls with your own hands? After that, already along the marked lines, you can install the profile. If the markup is done correctly, then everything is easily mounted:
- The holes for the guide profile are made with a puncher, passing through its base.
- Rack will be inserted into the guide profile. It is neatly aligned and secured.
- After the installation of direct suspensions is done.
- Installation of racks to suspensions.
The whole process is done using a level. There shouldn't be any bends. If it doesn’t work out, then it’s better to pull the thread and control it.
Fixing drywall
You need to have special self-tapping screws, they are mounted at a distance of no more than 30 centimeters. It also happens that the height of the sheet is not enough for the premises. Then they are fixed in a checkerboard pattern. This must be taken into account in order to create an appropriate framework. In addition, it is required to create a gap of about four millimeters. After that, it is neatly sealed. Therefore, material is purchased in advance and work is done in several stages:
- The surface is treated with a primer (especially pay attention to the seams).
- So that the putty does not crack, you need to use a construction mesh.
- After the seams, the joints are puttied.
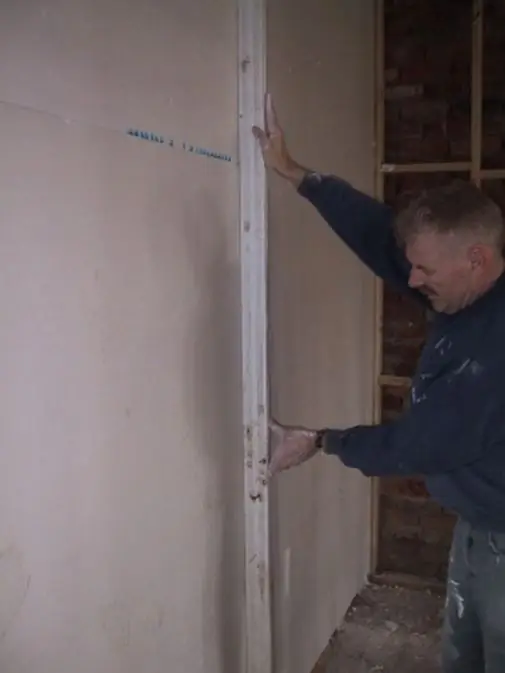
Then you can apply any top coat. This is how the walls are aligned with their own hands. The whole process is simple, but do not break the sequence and exclude something from the instructions.
Apply putty
Everyone knows what a putty mixture is. It is used to make the surface of the wall perfectly flat. After allsometimes not all methods are effective. It happens that it is not possible to level the wall with tiles. Today, there are not only ready-made formulations on sale, but also dry ones. Each of them has its own area of application. It all depends on the composition:
- Using cement-based material. These are mixtures that are immune to high humidity. Therefore, they are applied to the walls in certain rooms. There is one feature. The cement may shrink. Therefore, most often it is roughing.
- Gypsum base. It will not shrink, so it can become a finishing application. Most often it is used together with sheets of drywall construction.
- Polymer components. This is a modern composition, which is most often used in decoration. After all, it has many positive aspects - the material fits well and neatly on different surfaces. In a diluted state, it is stored for about 24 hours. Therefore, when applying, there is no need to rush. This is especially true for beginners.
It happens that the best composition is polymeric. It can be ready-made, and it does not need to be bred. But there is a cost difference. Dry ones are usually cheaper, but composition also matters. Before starting work, you should pay attention to the right tool, without which nothing will work.
Features of work and tool
The puttying process will not be difficult, but subject to the creation of the required indicators for this. The first is the tools:
- A bucket or other container to create the composition.
- Stick, drill with attachments or construction mixer formixing.
- Spatulas (large and small).
This composition has a peculiarity. It's drying speed. You should not immediately direct a lot (especially if the work is being done for the first time). Before buying, you should calculate the right amount. This is not as difficult to do as it might seem. Before you start creating a flat surface, you must first remove all the depressions and potholes.
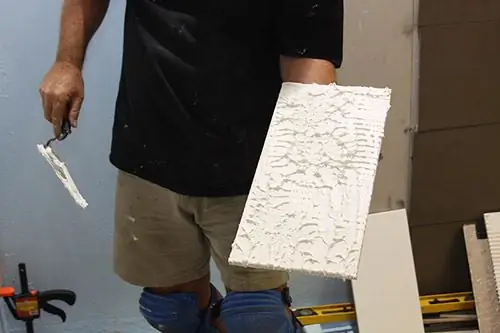
Putty is applied from the floor to the ceiling. But the level also applies. It is attached to the wall. Where there is a gap, more putty will be required. Two spatulas are needed to apply mixtures to the wall with one, and gently smear with the other. The composition must be thoroughly rubbed to get a thin layer.
Conclusion
Any way of leveling a wall has its own advantages and methodology. Do not neglect any of the recommendations to get the desired result.


