When preparing to renovate an apartment, many owners purchase tools and materials in advance. If the surface is to be pre-treated before painting or wallpapering, it is very important to choose the right primer roller. Many people think that any of them will do, but during work they encounter some troubles. The surface is not stained, the composition is applied unevenly or splashes fly in all directions. The right tool will help avoid misunderstandings.
Design Features
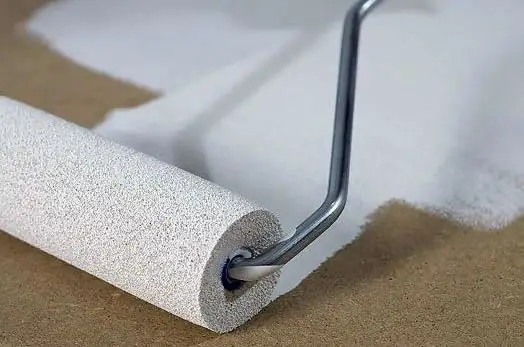
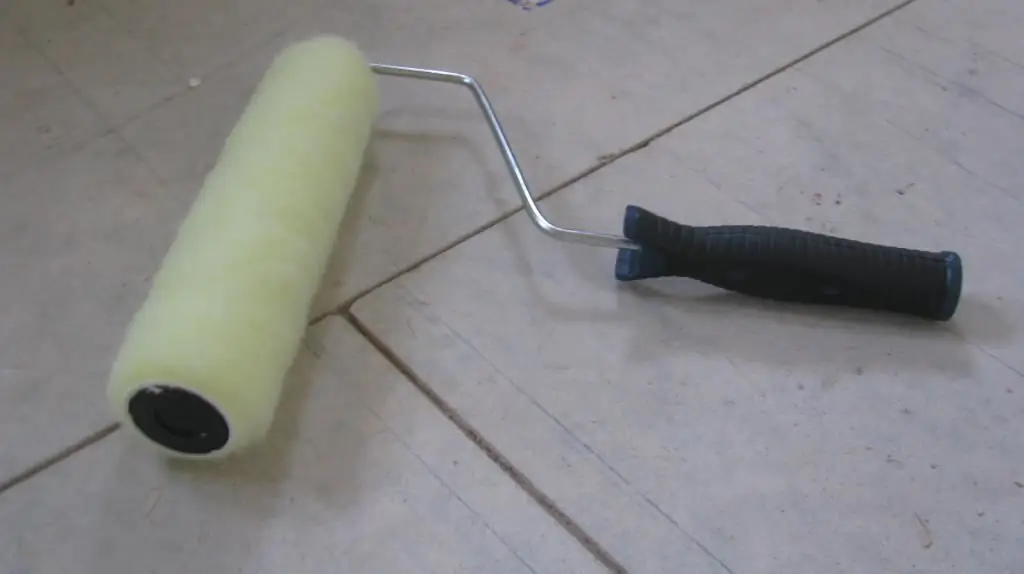
The tool consists of several elements:
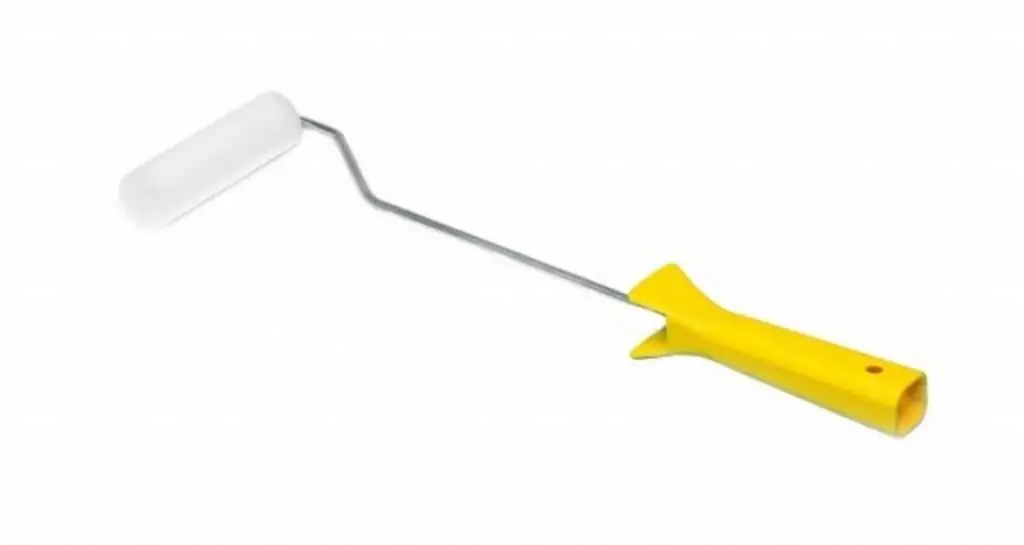
- Pen. Mainly made of plastic. Sometimes an extension handle is used to reach a greater height. In this case, you do not have to use a ladder.
- Basis. Metal bent rod.
- Reel. The element to whichthe nozzle (fur coat) is put on.
- Fur coat. It is made from various materials, the most convenient for a particular type of work.
Advantages and disadvantages
A primer roller has significant advantages over a brush. Even in one pass, it covers a much larger area. It spreads the primer evenly over the surface, leaving no streaks or nasty smears.
You can put an extension cord on the handle (byugel) of the roller and use it for priming the ceiling, the upper part of the walls, the facade of a country house. The fur coat can be easily removed from the clasp, you can replace it with another material and use it for various kinds of work and with any finishing materials.
Among the disadvantages of using a primer roller, it can be noted that for hard-to-reach places it is necessary to use a tool of a special design (angular, mini) or a brush.
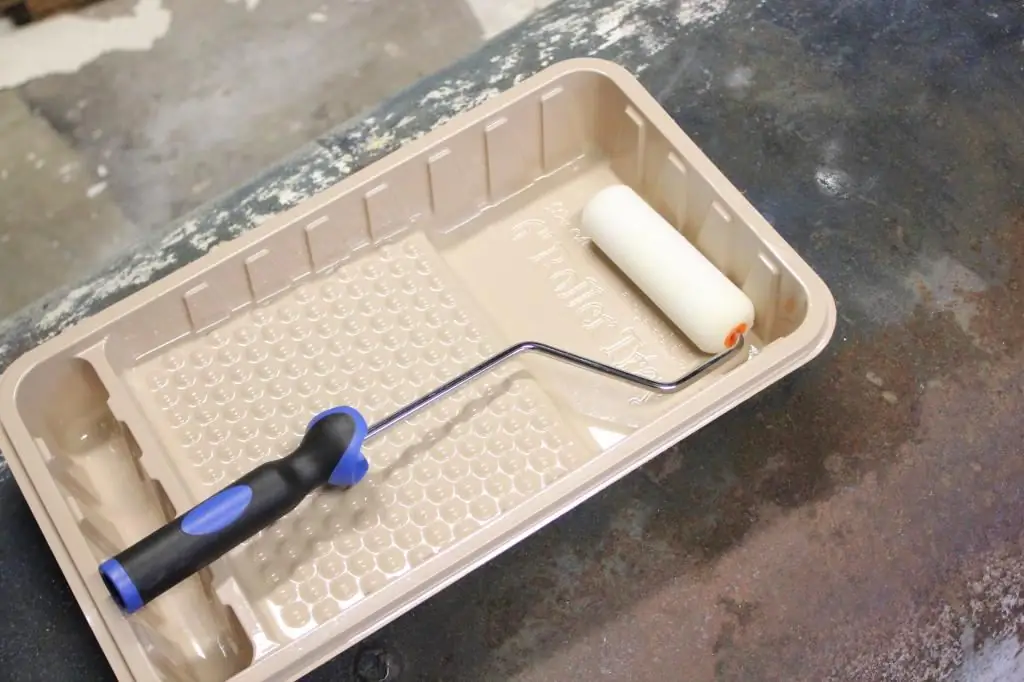
For roller priming, you need a special tray, and working with it requires certain skills.
Types of rollers
Before you start repairs, you need to know which roller to apply the primer. They come in different types and sizes, they must be selected for a specific type of work:
- Mini. They are used for priming surfaces in hard-to-reach places. Standard dimensions: width 150mm, diameter 15mm.
- Midi. They have optimal dimensions: working surface from 160 to 250 mm, diameter - from 50 to 80 mm. Universal models are suitable for priming anysurfaces.
- Maxi (front). Working surface with a width of 250 mm, diameter - 80 mm. They cover a large area, but it is difficult and tiring for a non-professional to work with them, this requires special skills. A heavy tool is used for priming facades in construction work.
Materials for making fur coats
There are many roller materials, but only three are used for priming. Each one is suitable for a specific coverage:
- Foam. The cheapest and simplest material is used for applying viscous formulations. It is not suitable for a liquid solution, since during operation it will spray the composition in different directions. There may be drips on the walls.
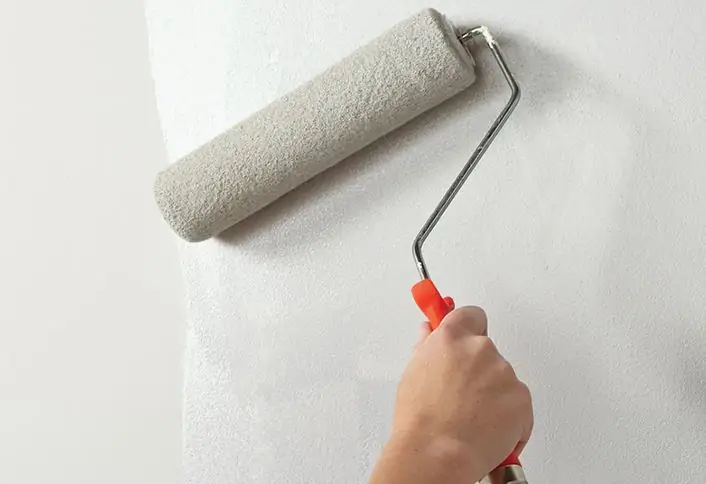
- Fur. Faux fur is used for most jobs. The length of the pile does not exceed 15 mm. With this tool, you can prime the walls before sticking wallpaper, painting. Both thick and liquid formulations are applied with a fur roller.
- Velor. The length of the pile of the material does not exceed 5 mm, such material qualitatively primes the surface before painting, since this roller distributes the composition in a perfectly even layer. Before priming, all depressions and irregularities must be puttied and carefully processed with a grinder or sandpaper (small surfaces). Priming brickwork with a velor roller is impractical.
Selection Tips
Before buying a primer roller, you need to determine the goals and scopefuture work. For processing a large surface, a tool with a large working surface is ideal. Mini-models are chosen when creating stencils, engravings, for processing corners and applying liquid formulations.
Priming walls before sticking thick wallpaper or laying tiles can be done with a tool with a coat of any material. A perfectly smooth surface is not so important here. Only a velor roller is suitable for processing walls before gluing thin wallpaper or silk-screen printing.
For porous and uneven surfaces choose rollers with "long-haired" material. Long bristles, penetrating into any pores, provide high-quality and uniform coverage. For smooth walls, you can use a fur coat with a medium pile.
Quality tools are important for efficient and comfortable work. The handle should not dangle or slide, this is very difficult when applying liquid formulations. Various handle attachments or extensions help to work on high surfaces (roofs, ceilings, high walls).
Priming recommendations
Before you get started, you need to know how to properly prime the walls. First you need to carefully prepare the walls: clean them of dust, dirt and stains. Then prepare the primer, some compounds are enough to mix or just shake, while other mixtures are diluted with water or a solvent.
The finished primer is poured into a cuvette in a special recess. It is enough that the liquid reaches the squeezing grate. The roller is dipped several times, rolled over the squeezing grate,after that it is ready to use.
The surface is primed from the corner. For hard-to-reach places, it is necessary to use a narrow roller or apply the composition with a brush. Carefully process joints, slopes, places near sockets.
The primer is applied to the walls in several layers. Each subsequent layer is applied after the previous coating has completely dried. It is important to ensure that there are no gaps and streaks. After completion of work, the roller is thoroughly washed with solvent or gasoline.


