A calendar attracts much more attention than a beautiful picture on the wall or photographs enclosed in original frames. After all, it is not only a decor item, but also a reminder of important dates and events. The calendar is an important human assistant. However, despite the wide choice, it is sometimes difficult to choose one that harmoniously fits into the interior. In this case, you need to make it yourself. Let's see how to make a calendar that would be your pride.

Computer comes to the rescue
First of all, decide how you want your calendar to look. It can be a wall poster or a flip calendar. You might like the desktop "assistant".
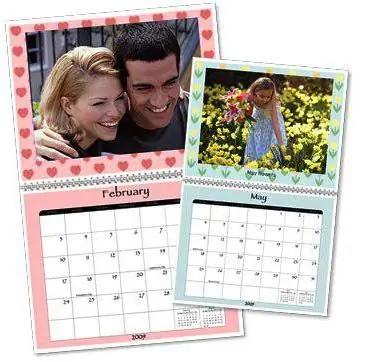
A computer program will help you make a calendar with a photo. There are a lot of them, and it will not be difficult to choose the most optimal one.
This is probablythe easiest way to create. It is necessary to carefully select suitable photos, think over the design, design.
It remains only to print your creation and choose a place for it.
Easy option
How to make a calendar with your own hands? Initially, you should make a template that you can decorate at your discretion. Be sure to involve children in creativity. They will love this collaboration.
You will need:
- cardboard (you can use white or color) - 12 pcs;
- pencil;
- ruler;
- markers.

Now let's figure out how to make a calendar:
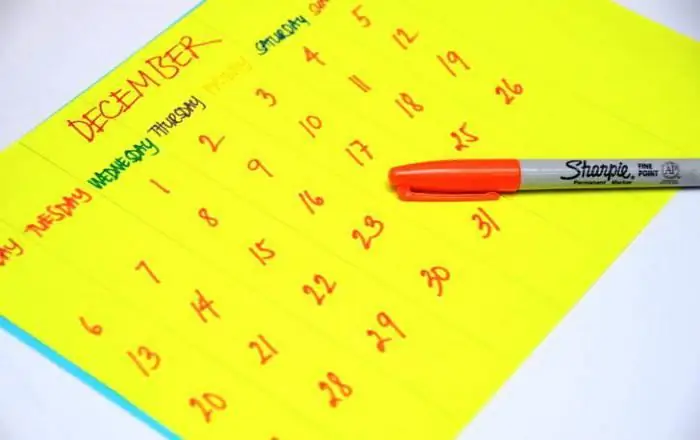
- On each sheet of cardboard, draw a sign consisting of 7 columns (days of the week) and 5 lines.
- Write the name of the month at the top. Label the columns. These are, as previously stated, the days of the week.
- Enter the dates in the cells. To do this, you can use a regular calendar.
- Time to move on to decorating the product. Use whatever you like to decorate: crayons, stickers, stickers, markers, glitter.
- And be sure to highlight important dates. For example, on December 31, you can stick a Christmas tree or a snowflake on a cell, on a birthday - a flower or a toy (if the holiday is for children).
- To hang your masterpiece on the wall, fold all the sheets and make two identical holes in them. Pull the ribbon through to secure the cardboard.
Desk diary calendar
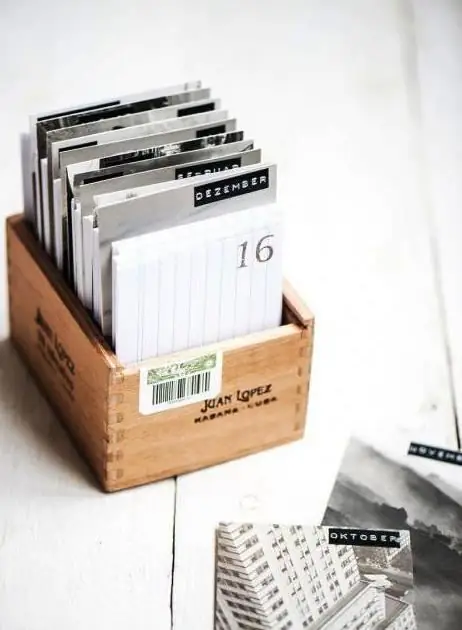
Maybe you will like the following idea. Thinking about how to make a calendar for a year, you can combine it with your family's diary. For 12 months, you and your household write down on its pages the amazing stories and events that happened on this day. Just imagine how interesting and exciting it is to re-read it, say, in 10 years.
To make you will need:
- postcards or thick pictures - 12 pcs.;
- scissors;
- small box;
- notebook;
- rope;
- print with date setting.
Progress:
- Unfasten the staples in your notebook. Cut the pages into identical sheets.
- Stamp the date on each piece of paper. You can do it manually or print it on your computer.
- Now lay out the sheets, taking into account the dates. Highlight the end of the month with postcards. It is better that the color picture is higher than the sheets.
- On the left, you can make 2 holes and fasten the calendar. In this case, the lived day will move to the end of the calendar. But writing on such sheets of paper will not be very convenient.

Calendar with photos
This is another easy model to make. You can create one easily if you learn how to make a photo calendar.
For work you will need:
- beautiful pictures;
- leaves with the months of the year (they can be easily done using a computer);
- cardboard;
- double sided tape or glue;
- scissors;
- wrappingpaper;
- satin ribbon or twine.
To understand how to make a calendar, a master class will help:
- First, determine the size of the photos. You will need 12 images of the same size.
- Under the sizes of photos "pull up" printouts of months and a cardboard. If you are using colored paper, you can make the photos slightly smaller. In this case, sticking them on cardboard, you will get a finished frame. You can attach photos using double-sided tape or glue.
- Put the calendar in the correct order. Make a hole at the bottom of all leaves. It is it that will allow you to hang the calendar on the wall (unfolded). At the top you will need 2 holes. Pass twine or ribbon through them and fasten your model.
Universal calendar
If you want to create a model that will delight you for many years, then consider creating a "helper" on the canvas.

Prepare the following:
- canvas (you can choose the dimensions yourself, for example 400x500 mm);
- cutters;
- pins;
- satin ribbon;
- colored cardboard and paper;
- stickers or double-sided tape.
The instruction will let you understand how to make a calendar:
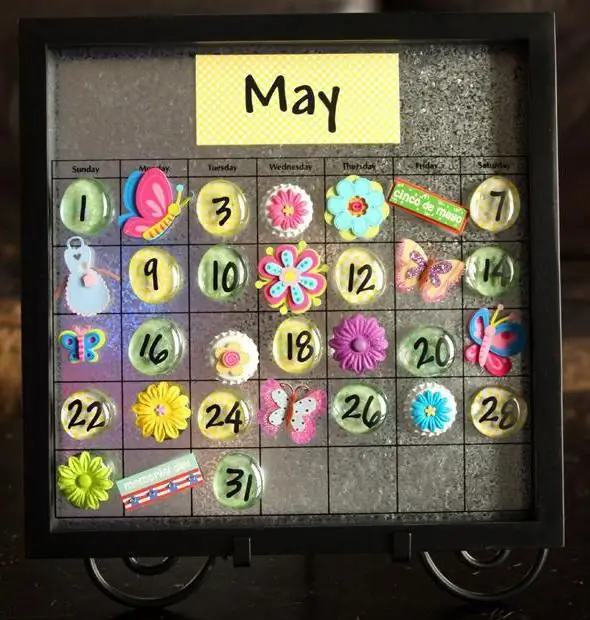
- Using a satin ribbon, divide the canvas into cells. You need to delimit 7 columns and 5 rows. Insert beautiful pins at the intersections of the ribbons. On the reverse side, bend them with wire cutters.
- ColoredCut paper or cardboard into equal squares. Write on them the numbers corresponding to the days. Secure them to the canvas in each cell using double tape. You can use stickers. Also make the name of the month.
- Your universal calendar is ready. You can write about important events on stickers. Reminders can be left on separate sheets by slipping them in the selected cell under the satin ribbon.
It's easy to make your own calendar. Moreover, you can create a unique and inimitable thing.


