High-precision devices are used in various spheres of life and production of modern society. Without special equipment, there would be no space flights, the development of military and civilian equipment, and much more. It is quite difficult to repair such equipment. Therefore, various control and measuring instruments are used. Their quality is determined by the level of compliance of this equipment with its intended purpose. For ease of measurement, accuracy classes of measuring instruments are also applied.
What is the unit of measurement?
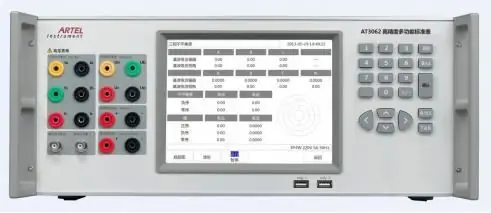
Each stage of a technological or natural process is characterized by certain values: temperature, pressure, density, etc. By constantly monitoring these parameters, you can control and even correct anyaction. For convenience, standard units of measurement for each specific process have been created, such as meter, J, kg, etc. They are divided into:
· Main. These are fixed and generally accepted units of measurement.
· Coherent. These are derivatives related to other units. Their numerical coefficient is equal to one.
· Derivatives. These units of measurement are determined from base quantities.
· Multiples and submultiples. They are created by multiplying or dividing by 10 basic or arbitrary units.
In every industry there is a group of values that are constantly used in monitoring and adjusting processes. Such a set of units of measure is called a system. The process parameters are monitored and verified by special instrumentation. Their parameters are set using the International System of Units.
Methods and means of measurement
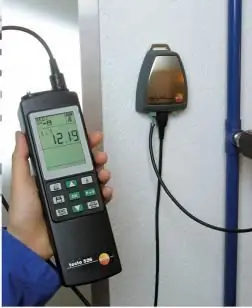
In order to compare or analyze the value obtained, a series of experiments should be carried out. They are carried out in several common ways:
· Direct. These are methods in which any value is obtained empirically. These include direct evaluation, zero compensation, and differentiation. Direct measurement methods are simple and fast. For example, measuring pressure with a standard instrument. At the same time, the accuracy class of the pressure gauge is significantly lower than in other studies.
· Indirect. Such methods are based on the calculation of certain quantities from known or generally acceptedparameters.
· Cumulative. These are measurement methods in which the desired value is determined not only by solving a number of equations, but also with the help of special experiments. Such studies are most often used in laboratory practice.
In addition to methods of measuring quantities, there are also special measuring instruments. These are the means of finding the desired parameter.
What are test instruments?
Probably, every person at least once in his life conducted some kind of experiment or laboratory research. Manometers, voltmeters and other interesting devices were used there. Everyone used their own device, but there was only one - the control one, which everyone was equal to.
As always - for the accuracy of the measurement quality, all devices must clearly comply with the established standard. However, some errors are not excluded. Therefore, at the state and international level, accuracy classes of measuring instruments were introduced. It is by them that the permissible error in calculations and indicators is determined.
There are also several basic control operations for such devices:
· Test. This method is carried out at the production stage. Each device is carefully checked for quality standards.
· Checking. At the same time, the readings of exemplary instruments are compared with those tested. In a lab, for example, all devices are tested every two years.
Graduation. This is an operation in which all divisions of the scale of the instrument under test are given the appropriate values. Typically, this is donemore accurate and highly sensitive devices.
Classification of instrumentation
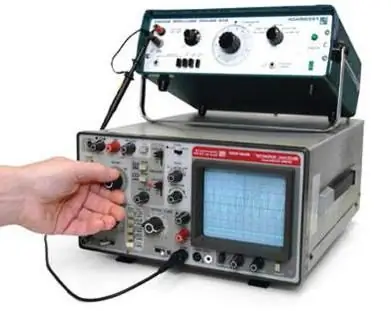
Now there are a huge number of devices with which to check data and indicators. Therefore, all instrumentation can be classified according to several main features:
1. According to the type of measured value. Or by appointment. For example, measuring pressure, temperature, level or composition, as well as the state of matter, etc. At the same time, each has its own quality and accuracy standards, for example, as the accuracy class of meters, thermometers, etc.
2. By way of obtaining external information. Here comes a more complex classification:
- recording - such devices independently record all input and output data for subsequent analysis;
- showing - these devices make it possible to exclusively observe changes in a process;
- regulating - these devices are automatically adjusted to the value of the measured value;
- summing - here any period of time is taken and the device shows the total value of the value for the entire period;
- signaling - such devices are equipped with a special sound or light warning system or sensors;
- comparator - this equipment is designed to compare certain values with the corresponding measures.
3. By location. Distinguish between local and remote measuring devices. At the same time, the latter have the opportunitytransmit received data to any distance.
Characteristics of instrumentation
In every work, it should be remembered that not only working devices, but also standard samples are subject to verification. Their quality depends on several indicators at once, such as:
· Accuracy class or error range. All devices tend to err, even standards. The only difference is that there are as few errors in the work as possible. Very often, accuracy class A is used here.
· Sensitivity. This is the ratio of the angular or linear movement of the pointer to the change in the investigated value.
· Variation. This is the allowable difference between repeated and actual readings of the same instrument under the same conditions.
· Reliability. This parameter reflects the preservation of all specified characteristics for a certain time.
· Inertia. This is how some time lag of the instrument readings and the measured value is characterized.
Also, good instrumentation should have qualities such as durability, reliability and maintainability.
What is margin of error?
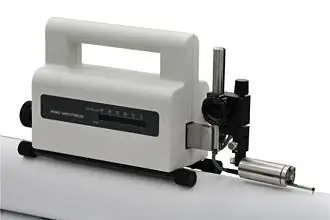
Specialists know that in any work there are small mistakes. When carrying out various measurements, they are called errors. All of them are due to the imperfection and imperfection of the means and methods of research. Therefore, any equipment has its own accuracy class, for example, 1 or 2 accuracy class.
At the same time, the following types of errors are distinguished:
· Absolute. This is the difference between the performance of the instrument being used and the performance of the reference device under the same conditions.
· Relative. Such an error can be called indirect, because this is the ratio of the found absolute error to the actual value of the specified value.
· Relative reduced. This is a certain ratio between the absolute value and the difference between the upper and lower limits of the scale of the instrument used.
There is also a classification according to the nature of the error:
· Random. Such errors occur without any regularity or consistency. Often, various external factors influence the performance.
· Systematic. Such errors occur according to a certain law or rule. To a greater extent, their appearance depends on the state of the instrumentation.
· Misses. Such errors sharply distort the previously obtained data. These errors are easily removed by comparing the corresponding measurements.
What is Grade 5 accuracy?
Modern science has adopted a special measurement system to streamline the data obtained from specialized instruments, as well as to determine their quality. It is she who determines the appropriate level of settings.
Accuracy classes of measuring instruments are a kind of generalized characteristic. It provides for the determination of the limits of various errors and properties that affect the accuracy of instruments. At the same time, each type of measuring instrument has its own parameters and classes.
According to the accuracy and quality of measurement, most moderncontrol devices have the following divisions: 0, 1; 0.15; 0.2;0.25; 0.4; 0.5; 0.6; ten; fifteen; 20; 2, 5; 4, 0. In this case, the error range depends on the instrument scale used. For example, for equipment with values of 0 - 1000 ° C, erroneous measurements of ± 15 ° C are allowed.
If we talk about industrial and agricultural equipment, then their accuracy is divided into the following classes:
· 1-500mm. 7 accuracy classes are used here: 1, 2, 2a, 3, 3a, 4 and 5.
· Over 500 mm. Grades 7, 8, and 9 are used.
At the same time, the highest quality will be for a device with a unity. And the 5th accuracy class is used mainly in the manufacture of parts for various agricultural machines, car and steam locomotive building. It is also worth noting that it has two landings: X₅ and C₅.
If we talk about computer technology, for example, printed circuit boards, then class 5 corresponds to increased accuracy and density of the design. In this case, the width of the conductor is less than 0.15, and the distance between the conductors and the edges of the drilled hole does not exceed 0.025.
Interstate accuracy standards in Russia
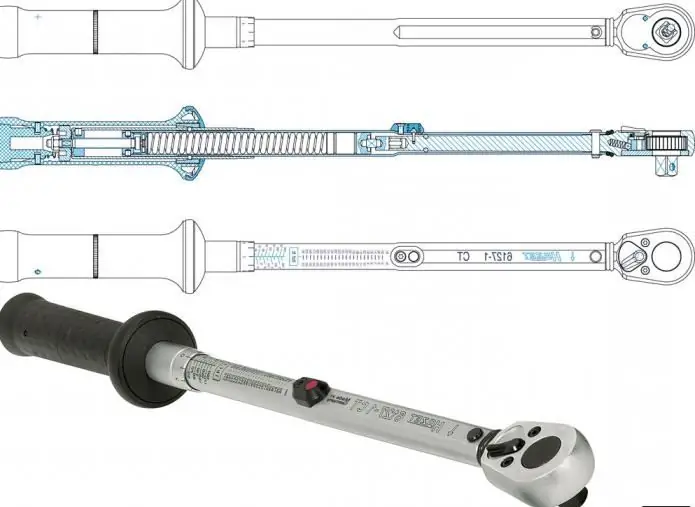
Any modern scientist is looking for his own system for determining the quality of the instruments used and the data obtained. To generalize and systematize the accuracy of measurements, interstate standards were adopted.
They define the basic provisions for dividing devices into classes, a set of all requirements for such equipment and methods for standardizing various metrological characteristics. Accuracy classesmeasuring instruments are established by special GOST 8.401-80 GSI. This system was introduced on the basis of the OIML international recommendation No. 34 from July 1, 1981. Here are laid out general provisions, the definition of errors and the designation of the accuracy classes themselves with specific examples.
Basic provisions for determining accuracy classes
To correctly determine the quality of all measuring instruments and the resulting data, there are several basic rules:
· Accuracy classes should be selected according to the type of equipment used;
· Multiple standards can be used for different measurement ranges and quantities;
· Only a feasibility study determines the number of accuracy classes for a particular equipment;
· measurements are carried out without taking into account the processing mode. These standards apply to digital instruments with an embedded computing device;
· Measurement accuracy classes are assigned based on existing government test results.
Electrodynamic instrumentation
Such devices include ammeters, wattmeters or voltmeters and other devices that convert various quantities into current. For their correct and stable operation, special shielding of measuring equipment is used. This is done, for example, to increase the accuracy class of a voltmeter.
The principle of operation of these devices is that an external magnetic field simultaneously enhances the field of one measuring device andweakens the field of the other. In this case, the total value is unchanged.
The advantages of such instrumentation include reliability, reliability and simplicity. It works equally with both DC and AC.
And the most significant disadvantages are low accuracy and high power consumption.
Electrostatic instrumentation
These devices work on the principle of the interaction of charged electrodes, which are separated by a dielectric. Structurally, they look almost like a flat capacitor. At the same time, when moving the moving part, the capacity of the system also changes.
The most famous of them are devices with a linear and surface mechanism. They have a slightly different principle of operation. For devices with a surface mechanism, the capacitance changes due to fluctuations in the active area of the electrodes. Otherwise, the distance between them is important.
The advantages of such devices include low power consumption, GOST accuracy class, a fairly wide frequency range, etc.
The disadvantages are the low sensitivity of the device, the need for shielding and a breakdown between the electrodes.
Magnitoelectric instrumentation
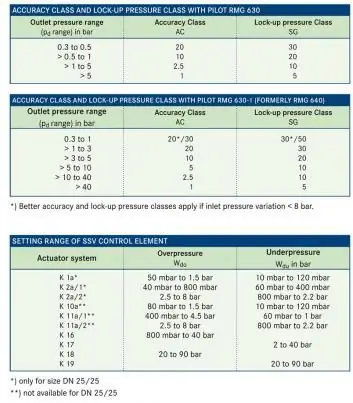
This is another type of the most common measuring devices. The principle of operation of these devices is based on the interaction of the magnetic flux of a magnet and a coil with current. The most commonly used equipment with an external magnet and a movable frame. Structurally, they consist of three elements. This is a cylindrical core, an external magnet andmagnetic core.
The advantages of these instrumentation include high sensitivity and accuracy, low power consumption and good calming.
The disadvantages of the presented devices include the complexity of manufacturing, the inability to maintain their properties over time and susceptibility to temperature. Therefore, for example, the accuracy class of a pressure gauge is significantly reduced.
Other types of instrumentation
In addition to the above devices, there are several more basic measuring instruments that are most often used in everyday life and production.
Such equipment includes:
· Thermoelectric devices. They measure current, voltage and power.
· Magnetoelectric devices. They are suitable for measuring voltage and quantity of electricity.
· Combined devices. Here, only one mechanism is used to measure several quantities at once. The accuracy classes of measuring instruments are the same as for all. Most often they work with DC and AC power, inductance and resistance.


